Wednesday, February 29, 2012

Thiruvadharai Kali, Kootu and Thalaga Kuzhambu


Thiruvathira occurs during late December or early January during the Tamil month of Markazhi (which is the "spring" month, considered very sacred and during which we sing the praise of Gods (hence the kutcheris in Mylapore)).

In Kerala and Tamilnadu, women eat a special food preparation called "Kali" on this day and pray for a good husband. Married women fast for the longevity of their husbands. Thiruvadharai Kali is paired up with  either Kootu or Thalaga Kuzhambu, according to one's family tradition. Being a "neivedhyam" food and made specifically for fasting, this kali and kootu, kuzhambu have barely any spices. Nonetheless, it is very delicious and absolutely healthy! You can make it even on a normal day when you want to try something different!

Thiruvadharai Kali

Yield : For 2 adults for 2 meals (lunch and dinner)

Recipe for Thiruvathira Kali -


Rice - 1 cup
Jaggery - 1/2 cup
Coconut - 1/2 cup
Cardamom powder - ~1/4 tsp
Cashewnuts and Raisins - about 12 numbers each
Ghee - 1+ 1 tsp

Method -


  • Wash rice and drain the water.
  • Heat a pan and fry the wet rice until it runs slightly reddish.
  • Let cool and then coarsely powder (like rava) the rice.
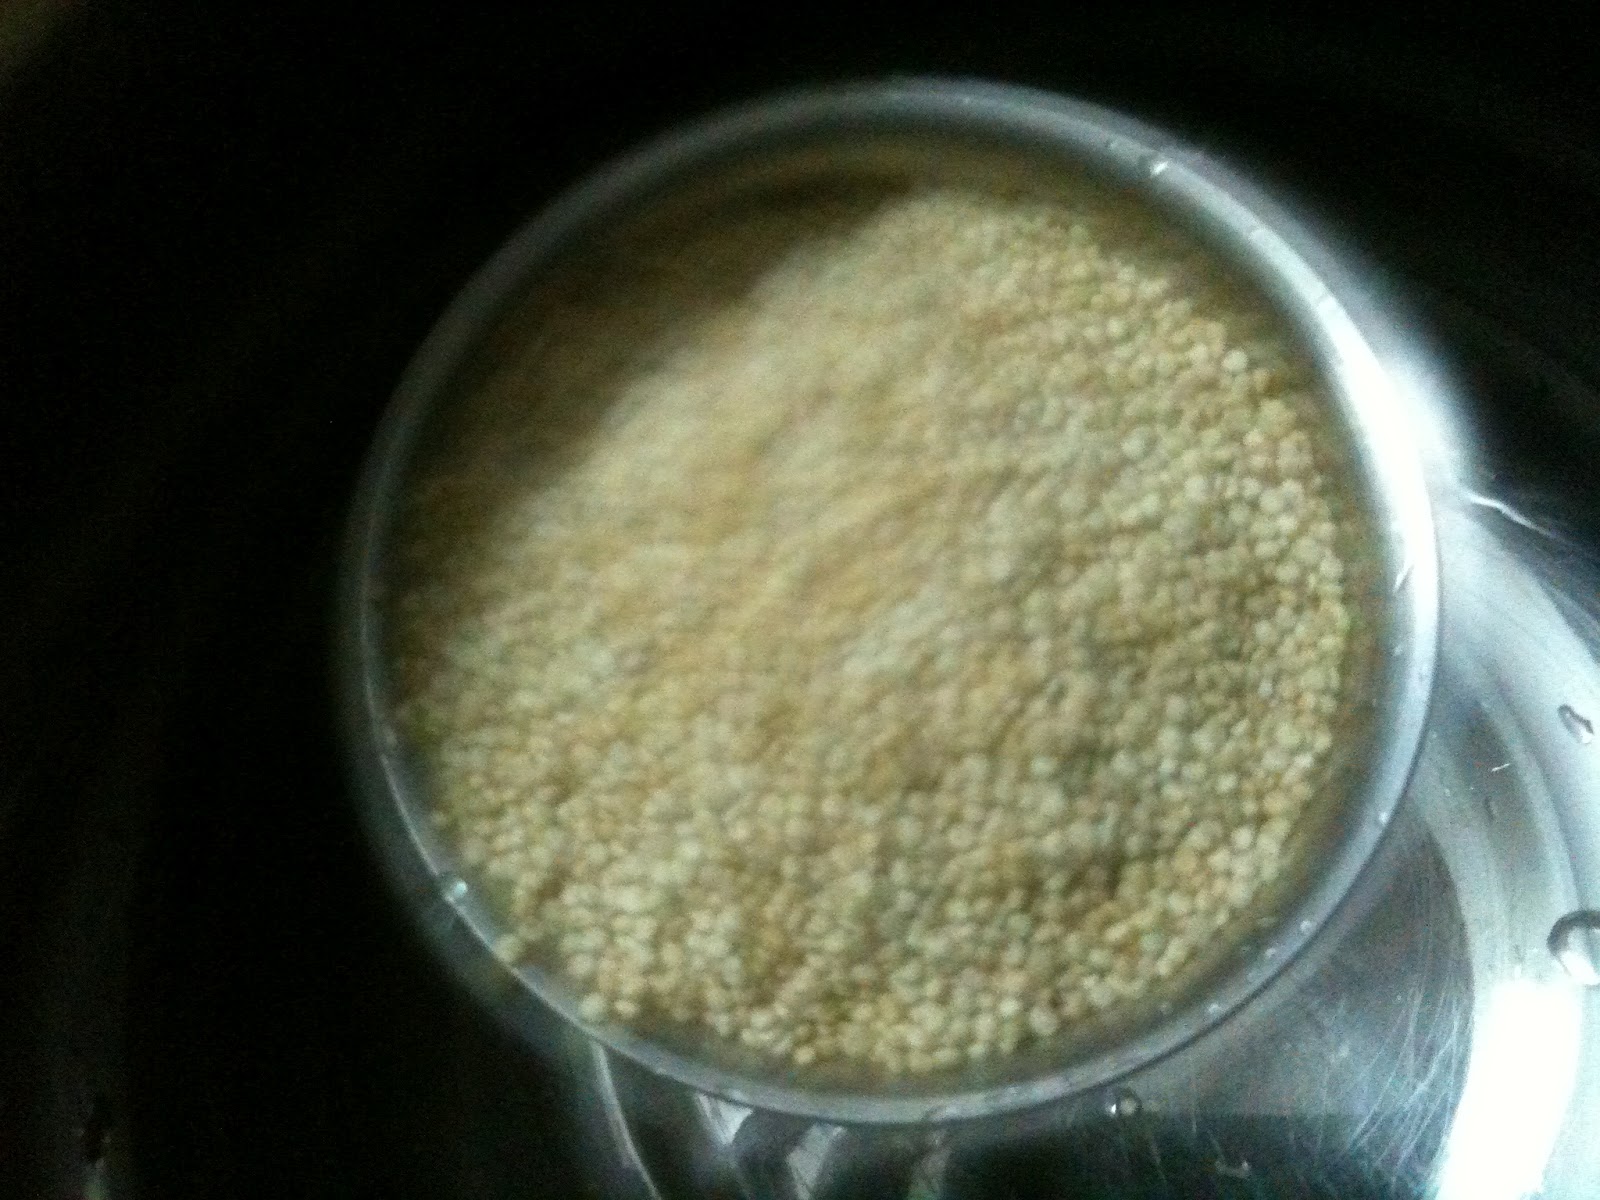
  • Measure the powder and add 2 measures of water for every measure of this powdered rice. Pressure-cook for 10 minutes.
Rice, washed and about to get roasted
Roasted and ready to be powdered
Coarsely powdered rice
Cooked!


  • Heat jaggery in a pan with some water sprinkled on it. When jaggery has melted, add grated coconut and cardamom powder.
  • Mix in the rice powder, that's pressure-cooked.
  • Ghee-roast cashews and raisins and add them too.
  • Flavour the kali with another teaspoon of ghee!

Jaggery boiled. Remove the scum, if any.

Coconut, cardamom added to jaggery
Garnishing kali with cashews and raisins. I just dug a well in the middle of the kadai, heated some ghee and roasted them!
Flavorful Kali is ready for neivedhyam!


Recipe for Kootu -

Kootu / Thalaga kuzhambu for Thiruvadharai Kali

  • You need 5 or 7 different vegetables. Choose from brinjal/eggplant, carrot, raw banana (vazhakkai), green peas, sweet potato, colocasia (cheppan kizhangu/arbi), potato, beans, etc.

Dry-roast the following in a pan and grind into a paste with a little water

  • Dhania (coriander seeds) - 1 tbsp
  • Dry red chillies - 4 or 5
  • Channa dal (kadala paruppu) - 1 tbsp
  • Grated coconut - 2 tbsp
Dry-roasted

Added some water and blended into a paste

Method -


  • Cook the vegetables with salt and turmeric.
  • Add the paste (above) to the cooked vegetables. Add a little water if the mixture is too thick. Boil for a minute or two.
  • Add curry leaves finally. That's it.

Potatoes, Sweet potatoes and Colocasia getting cooked

Cooked and chopped!
Carrots and peas cooked in microwave!

Boiled together with the paste

Variation for  Thalaga kuzhambu -


Like for any kuzhambu, you need tamarind water for this one too. So, boil together cooked veggies in tamarind extract. The procedure is pretty much the same as for kootu, but you add white sesame to the paste. Add the prepared paste and finally add curry leaves, like for kootu. Voila!

A rather thick thalaga kuzhambu with lots of veggies!


Enjoy your Kali with either Kootu or Thalaga kuzhambu. I personally prefer Kuzhambu as Kali is a bit dry and Thalaga kuzhambu is a richer gravy to go with it.The tartness from tamarind is also a nice combination with the rather sweet Kali.

I know it's quite late to post this recipe, but better late than never! Hope it's useful for folks for the next year's Thiruvathira! :-)


Tuesday, February 14, 2012

Quinoa Salad - Quick, healthy and fulfilling breakfast/supper


What's Quinoa ?


Quinoa (pronounced "keen-wah") is a grain-like crop grown for its edible seeds. It's a highly nutritious carbohydrate, that helps you to stay lean as well as maximize your energy levels at the same time. Its nutritional profile is similar to that of brown rice, but quinoa is higher in protein. Quinoa is great for cardio-vascular health, boosts your anti-oxidant levels, reduces the risk of gallstones, full of fiber and could help lower migraine. It's gluten-free and cholesterol-free! Most importantly, it's delicious!


How to cook Quinoa ?


First, it is essential to rinse quinoa atleast 3 times by changing water, in order to get rid of the bitter taste from the saponin coating. It's cooked much like rice, with twice the volume of water (or slightly less). It can be cooked in a closed pan or a rice cooker or a microwave. When cooked, quinoa is fluffy, crunchy and a little creamy!


Here's a simple salad with veggies, fruits and nuts added to cooked quinoa. This is one of the quick ones I make whenever I want to stay away from Indian masalas, yet eat something tasty. Feel free to add or deduct veggies, fruits and nuts to suit your family's taste buds! :-)


Nutritious & delicious Quinoa salad - So easy to make!


Yield - 2 people


Prep time + cooking time - 25 mins


What I Used for the Salad-


Quinoa - 1 cup (rinsed)
Water - 1 and 3/4 cup
Olive Oil - 1 tsp


Onions - 2 (chopped)
Garlic -  4 pods, finely chopped
Carrot - 2 medium (cubed)
Cucumber - 1 (chopped)
Tomatoes - 3 (chopped)
Fresh Coriander leaves - a small bunch, finely chopped


Apple - 2, cubed
Raisins - about 50 grams
Cashewnuts - a handful
Hazelnuts - 2 handfuls

Salt - to taste
Pepper - 1 tsp
Asafoetida - 2 drizzles

Add ons :

Pine nuts - toasted
Peanuts - roasted
Strawberries - fresh!
Feta cheese! 


How To -

  • Boil water with a drop of oil in a pan. Meanwhile, rinse quinoa about 3 times to get rid of the foamy saponins. This step is important, else you'll end up with bitter-tasting quinoa. Add rinsed quinoa to boiled water and close the pan. In 12 to 15 minutes, it's fully cooked (all the water is absorbed) and looks fluffy with thin white rings around. Let the cooked quinoa cool for atleast 10 minutes.
 

Quinoa, rinsed with water


Cooked quinoa


  • Heat about 1 tsp of olive oil and fry garlic and onions slightly. Don't brown them. 

  • Toast the nuts on an oven or a tava without any oil.

  • Peel the veggies and chop them ready. Cube apples.

  • Take a big salad bowl, add the slightly fried onions, garlic and all the chopped veggies, apples, nuts, raisins and sprinkle required salt, pepper and a little asafoetida. Toss everything gently. Squeeze some lemon juice if desired.


Healthy n tasty Quinoa salad

Enjoy this sumptuous salad for breakfast or dinner!


Monday, February 13, 2012

Samba Godhumai Kichdi/ Broken Wheat/ Dalia Upma

The key difference between the more common Rava Kichdi/Upma (also called as Bombay Rava) and this one is that Samba Wheat does not require to be pre-roasted before cooking while normal Rava must be roasted first in order to avoid becoming sticky and pasty! So, that's the 1st plus point! Next, this upma would taste awesome even without much veggies (just onions would suffice)! All these make this a popular dish on one of those weeknights you're totally exhausted and jus wanna eat something humble from your own kitchen!

Broken Wheat aka Dalia is also a great substitute for rice if you're looking to shed off some extra pounds! A relatively smaller quantity makes you feel full, and it's full of fibre! That essentially means you burn more calories! Isn't that good news? Now that I've got your attention, let's jump to the recipe quickly! :-)

Broken Wheat/ Samba Godhumai/Dalia


This is amma's recipe, so its simple yet tasty!

Yield - 2 to 3 persons

Prep time  + Cook time - 20 minutes


You Need -

Dalia/ Samba Godumai/ Broken wheat - 2 cups
Water - 4 and 1/2 cups
Salt - as per your taste (about 1 and 1/2 tsp)

Tempering -


Oil - 1 to 2 tsp
Mustard seeds - 1 tsp
Channa Dal - 2 tsp
Ginger - 1 inch (finely chopped)
Green chillies - 4 nos. (slit longitudinally)
Dry red chillies - 2 nos (broken into 2)
Curry leaves - a few
Asafoetida / Hing - 2 drizzles


For added taste, add one of the two


Onions - 2 (finely chopped)
                 OR
Coconut (fresh, grated ) - 1 handful or a little more

How To -

  • Take a kadai, heat oil and let mustard seeds pop up. Then follow with rest of the ingredients and fry for 3 to 5 minutes. If you like onions, fry finely chopped onions at this stage.  Please skip the onions if you're planning to add coconut at the end.

  • Now, to the same kadai, add water and let boil. Add salt as well.  Note that turmeric is not added for this Upma.

  • Remember the ratio - For every cup of  broken wheat, add 2 and 1/4 cups of water.

  • Once water starts boiling, add broken wheat/ samba godhumai/ dalia  and cook covered until all the water is absorbed. 
  •  You could also microwave the whole thing - Transfer the tempering done into a large microwave-safe bowl, add water+broken wheat and cook for about 15minutes. The timing varies with the power of your microwave oven. Stir and cook until all the water is absorbed.

  • Finally add freshly grated coconut and mix well. This is optional and dalia tastes awesome if you've added either onions (initially) or coconut (finally).

Upma ready!

Amma served it with Mor kuzhambu/Pulisseri and it was yummy!

This goes well with any kind of Sambar or Chutney.


Thursday, February 9, 2012

Book Review - Southern Flavours by Chandra Padmanabhan

I waited impatiently for the book to arrive after signing up for the Book Review program at blogadda.com. I have read recipes from this book, posted on other blogs and have found them to be very interesting.


Finally, the courier guy rang the door bell and as I held the book, I felt immensely delighted at the first few glimses, and my instincts didn't prove to be wrong. As I flipped through the pages, the pictures were truly inspiring and the recipes were spread across the cuisines of all the four southern states of India - viz, Tamilnadu, Kerala, Karnataka and Andhra Pradesh. There are similarities as well as subtle differences and these are captured in the numerous recipes in the book.

My honest ranking for this book would be 9 out of 10 points, so you know this book has hit the nail right on the head! I would have been happier if every recipe in the book had been accompanied by a photo of the final dish. This urge is greater because the photos given (about 2 to 3 recipes per category come with pictures- color photos! ) are so realistic and lively that you get the feeling of seeing it on the table, right in front of you! Of course, they are very inviting and homely, that you want to try it out immediately!

A peek into the cookbook!


Now, on the pros - there are so many,  let me list them for ease of reading.

  • This book gives an excellent introduction to someone completely new to South-Indian cuisine, or new to cooking itself. For example, even if you do not know what kootu means,  you can look it up here. If you are uncertain about what all would constitute a typical South-Indian lunch menu, you have it there (in Suggested Menus section). If you want to cook rice in a microwave oven and if your mum cannot help you, the book comes to your rescue!
  • Even for folks originally from the south, this book comes in handy when you want to get out of your comfort zone and try something different. For example, to a Tamilian, Theeyal from Kerala and Pulusu from Andhra would sound totally new and it definitely pays off to relish something novel every now and then. Variety is the spice of life, isn't it?
  •  Even within a state, every region and community has a different touch to the way they cook and certain signature recipes uniquely their own. Did you know that you can make Cheppankizhangu Vadai (Colocasia/ Arbi patties) or Rasam with Cabbage and Carrot? :-) 
  • Another useful section is the Glossary where ingredients are given in 3 languages - English, Hindi and Tamil. This helps today's generation of cooks, especially those living outside South India or even outside India, in many ways.
  • Recipes are well-categorized according to first course(sambar/ kuzhambu), second course (rasam/ saaru), snacks, sweets, accompaniments, etc. That makes it so much easier to look up a recipe quickly and comes in handy for today's busy women! Trust me, the recipes are authentic and completely vegetarian!
  • Last but definitely not the least, every recipe comes with the final quantity the dish would yield and how many can it be served to. So, just halving the quantity of every ingredient or doubling them makes it easier to scale the dish to the required levels.

I would be posting some recipes from the book, as I try them. But it's definitely a good idea to own the book in one piece anytime! And, let me make it clear that this is not a paid review and is just my candid opinion of the work.


LinkWithin

Related Posts Plugin for WordPress, Blogger...