Friday, January 13, 2012

Ven Pongal / Kaara Pongal - Pongalo Pongal!!!

Ven Pongal or Khara Pongal is the salted version (Ven denotes its white (actually off-white) color) and is often made along with Chakra Pongal (sweet) on the day of Makara Sankrati aka Pongal festival.

I'm posting the recipe, well in advance, for the benefit of my friends, especially those who are trying this for the first time.  A lot of my friends got married last year and this is their first Pongal festival celebrated together with their spouse after their wedding; here's wishing them a joyful Thala Pongal :-) Hope you get inspired by the pictures to try Pongal in your kitchen too.

According to the tradition, we boil milk in a wide-mouthed vessel (a big one, decorated with turmeric bunch / manja kothu ) and right when it boils and is about to over-flow, there is a chorus "Pongalo Pongal" from the entire family after which we do Namaskarams  (prayers) and pray for all good things to happen in the following year! Pongal in Tamil means "over-flowing" and symbolizes an over-flow of cash/prosperity as well as happiness in the family.

Over to the method of preparation of Pongal -

Ven Pongal/ Kaara Pongal

You Need -


Rice - 1 cup
Moong Dal - 1/2 cup
Black pepper - 1 and 1/2 tsp
Cumin / Jeera - 1 and 1/2 tsp
Cashewnuts - about 12 to 15
Ginger, finely chopped or grated - 1 and 1/2 tsp
Curry leaves - a few 
Ghee - 1/4 cup (or a little more)
Salt - to taste (~1 tsp)


How To -


  • Rinse moong dal well by changing water about 3 or 4 times. Drain water completely and roast until its slightly reddish in color. (No oil required)


  •  Rinse rice thrice till water runs clear (almost).
  •  Boil 4 cups of water in a big pot (Ponga paanai) and then add the rinsed rice and roasted moong dal. When they are almost cooked, add salt and let it get slightly over-cooked (kozhaiya veganum). Finally, mash well using a potato-masher or any similar tool.
    • You can also pressure-cook rice and moong dal to get it done quickly. Actually, pressure-cooking (3 or 4 whistles) is better as it's easier to get a nicely mashed mixture.
    • I would like to add half-milk and half-water(just like for Chakra Pongal) to cook rice and moong dal to give it an enhanced taste.
  •  Next, coarsely powder jeera and pepper in an electric mixer or coffee grinder. 
  • Chop cashewnuts and ginger and keep them ready.
  • Take a deep kadai/wok, heat 2-3 tbsp of ghee and roast cashews first. Then, heat 2tbsp of oil and add pepper+jeera powder, let splutter and then add ginger. Fry for another minute and then add curry leaves. 


Tempering for Pongal


 Add the mashed rice+ dal mixture to the kadai and mix well. Add the remaining ghee, gradually, to prevent rice from sticking to the kadai.


VenPongal with Sambar and Onion Chutney

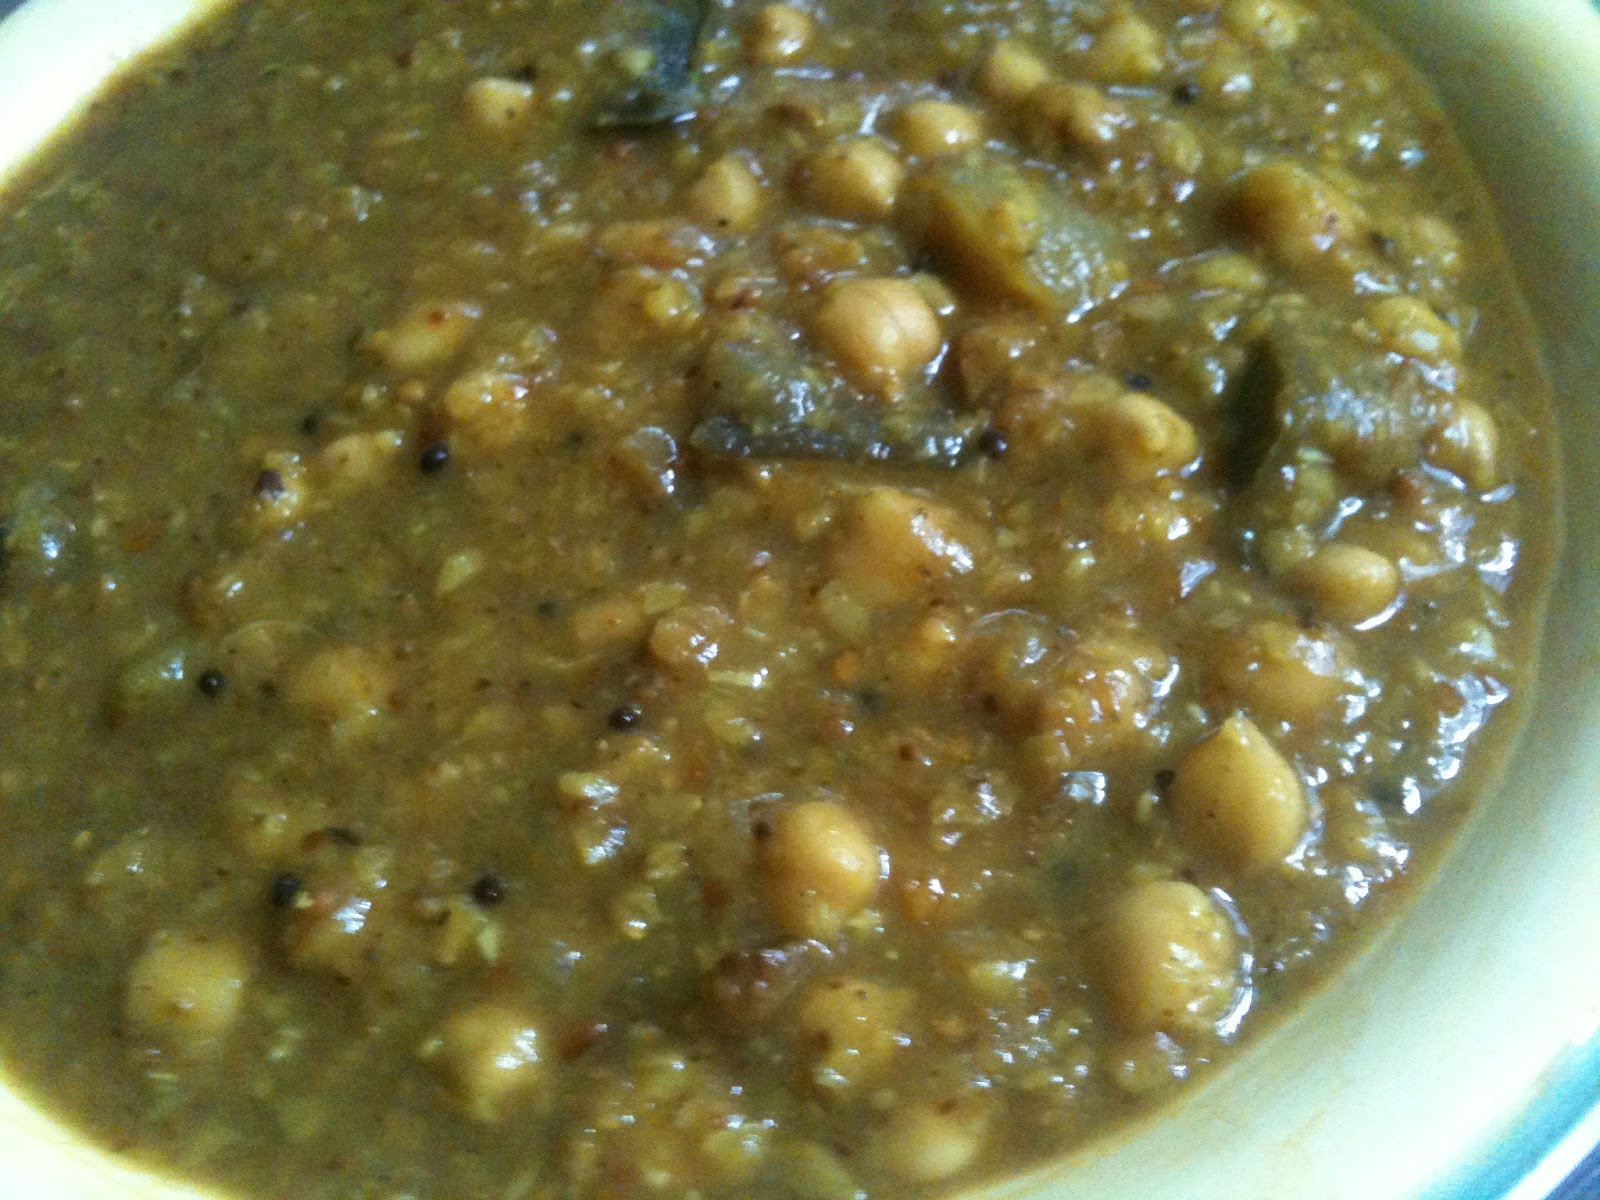
Serve with Gotsu or Sambar and any Chutney. Here's Onion Chutney and here's a quick Vegetable Chutney.

Notes :

Usually, I double the quantities of rice and moong dal (roasted) and pressure-cook them without salt. I use half of this for Ven Pongal and the other half for Chakra Pongal.


Wednesday, January 11, 2012

Maddur Vada - Karnataka specialty

Maddur Vade/Vada is a popular Karnataka specialty and you'd have definitely had it if you have ever been on the Bangalore-Mysore train route. This one is a crispy crunchy snack that adults and kids alike will love to munch on! I had the opportunity to discover Kalyani's blog as part of my participation in Blog Hop Wednesdays event. I picked this recipe as I wanted to try a dish unique to a particular region. Kalyani has a beautiful blog with diverse recipes and tempting food pictures and I found her stories prior to every recipe to be very interesting!

I made Maddur Vade in about 30 minutes and it was finger-lickin' good! :)

Maddur Vade

You 'll Need -

Maida - 1 cup
Semolina / Rawa - 1/2 cup
Rice flour - 2 tbsp
Onion, finely chopped - 1/2 cup
Fresh coriander and some curry leaves, chopped  - 1/4 cup
Green chillies-  2 nos (or adjust to suit your taste)
Salt - to taste
Hot oil - 1/4 cup (to make the dough)
Water (preferably warm)- 2 tbsp (approx) - to make the dough
Some more oil - to deep fry the vadas


How To -

  • Mix Maida, rawa and rice flour together in a bowl. Add chopped onions and salt and sprinkle little water to get some moisture. 
  • After 5 mins, add chopped coriander, curry leaves, green chillies and pour hot oil and mix well to get a soft, pliable dough. Be careful and DONT use your hand because its HOT OIL (I burnt my fingers the first time I made Maa Laadu and learnt the lesson!) Use a stainless steel spoon instead!
  •  Add warm water, a few drops at a time to get the dough done. Let sit for 10 minutes.
  •  Grease your hands with oil (or use a baking sheet as suggested by Kalyani) and flatten a small ball (roughly of 1 inch diameter or slightly more) of the dough and make a disc (approx 3 inch dia).
  • This is now ready to be deep-fried in pre-heated oil and then the Vada is ready to be devoured!

Simply use your palm! That's mehendi design on my hands, btw!
  • Repeat the same step of making (kinda thick) discs with the dough and deep fry in batches of 2 or 3 depending on the capacity of your frying pan. I could fry just one at a time, as I used very little oil and the smallest pan I had (this is to reduce left-over oil that remains to be re-used!)
    • Check for temperature of oil before frying, by dropping 1/2 tsp of mustard or jeera into it; they should pop up and sizzle. If the oil is not hot enough, the vadas will absorb more oil than necessary and will be soggy! 
    • Keep in medium flame and fry the vadas, to ensure the dough gets cooked sufficiently. High flame will blacken the outside and leave the inside uncooked!
    • Flip sides when it turns slightly golden colored and let the other side get crisp.


  • Drain excess oil on kitchen tissues and enjoy these lovely Maddur Vadas with a cuppa hot masala chai! :-)


Crispy Maddur Vadas
Crispy Maddur Vadas on their way to BHW event!


And to MidWeek Fiesta @FoodCorner


Saturday, January 7, 2012

Easy-peasy Chocolate Cake - Happy Birthday Sis!!! :-)

Today is my sister's birthday and I baked this chocolate cake to celebrate it :-)  How I wish I could walk across the street (and not having to fly for 4 hours + spend 3 hours at the airport), feed her and see her relish the cake!

Happy Birthday!

The specialty of this recipe is that it is absolutely eggless (Yes, no need to think of substitutions for egg! Isn't that wonderful?) and free from butter! Plus, there are no fancy ingredients and I am quite sure you'll have all the stuff stocked in your kitchen at most times. Although there is oil being used, I would soon be trying it out with half prune extract and half oil and I believe (from my prior experiments) that wouldn't significantly affect the quality of the end-product. Will update y'all with the results.

Update:

I replaced 3 tbsp oil with prune essence and used just 1 tbsp oil and there was absolutely no difference to the taste or texture! Yum-yum-yummy!!!

Take a bite, please!

Things You Need -


Dry Ingredients -


Flour (I used Whole wheat) - 1 and 1/2 cups
Baking soda - 1 tbsp
Salt - 1/4 tsp
Cocoa powder - 3 tbsp

Wet Ingredients -


Water - 1 cup
Sugar - 1 cup ( (I used 1 and 1/4 cups brown sugar as I didn't have enough white sugar!)
Vinegar (White or Apple-cider vinegar or simply concentrated lemon juice) - 1 tbsp
Vanilla essence - 1/2 tbsp
Oil - 4 tbsp
Chocolate chips - 2 handfuls ( I like mine to be really chocolatey...Ummm :-)

Birthday Cake for Dear Sis!

Procedure -


The recipe is so simple! Sift and combine the dry ingredients in a big bowl. Whisk together the wet ingredients in another bowl. Add the dry to the wet. Whisk well. Add in some (a handful) chocolate chips finally and mix once slightly.

Line a baking dish and pour the mixture (it's kinda watery and not thick unlike usual cake batter, but don't panic, all is well!). Sprinkle some more (another handful) chocolate chips.

Bake in a pre-heated oven at 180 deg Celsius for about 35-40 minutes. When tested with a toothpick, it might be a bit moist. Decorate with Icing of your choice!

So soft and delicious!


Wednesday, January 4, 2012

Kathrikai Konda Kadalai Pitlai (Eggplant + Chickpeas Pitlai) - TamBrahm Recipe


Brinjal and Chickpea Pitlai


 Although Pavakkai Pitlai (made with Bittergourd) is the classic recipe, amma used to make Chickpea/Channa pitlai  for me and my sis, since we detest Bittergourd completely! Well, I added eggplant too, for that's my hubby's first love! 

What's Pitlai? It's a thick gravy with tamarind juice and freshly ground spices as the base. It's different from the commonly known Sambar - there is no Sambar powder used, no Fenugreek in Pitlai and the quantity of Tuvar dal used is very less, comparatively.

Different vegetables(one at a time) can be used in Pitlai. Avarakkai (Broad beans), Kothavarangai (Cluster beans), potaoes, yam (Chenai kizhangu) are commonly used in Pitlai. Cooked Mocha kottai (Field beans/ Hyacinth beans) or Channa Dal (kadala paruppu) can also be added to the tamarind extract.

On to the recipe -


Ingredients -


Set A - To be roasted in 1 tsp of oil and ground coarsely


Dhania (Coriander seeds) - 1 and 1/2 tsp
Channa Dal (Bengal gram dal/ கடலை பருப்பு) - 1 tsp
Urad dal (உளுத்தம் பருப்பு) - 3/4 tsp
Dried red chiilies (à®®ிளகாய் வற்றல்) - 6 nos.
Grated Coconut - a handful (add finally if you're using dessicated coconut)


Freshly ground spice powder for Pitlai

Tamarind - a small lemon sized ball
Salt - 1 tsp or to taste

Oil - 2 tsp 
Black mustard seeds - 1/2 tsp
Urad dal - 3/4 tsp
Red chillies (dry) - 2 nos.
Hing / Asafoetida - 1/2 tsp
Curry leaves - a few
Cilantro / Coriander leaves - a few (optional) - to garnish

Brinjal - 1/2 of a big one or 6-8 small ones
Chickpeas / Chole - 2 handfuls (soaked overnight and pressure cooked till soft)


Toor dal ( துவரம் பருப்பு) - a handful (pressure cook or alternatively soak for 2 hours and cook in a pan with sufficient water)


Method -


  • Temper mustard, urad and red chillies in a teaspoon of oil.


  • Cube brinjal and fry them in oil for 3 minutes.

Add caption
  • Then, add tamarind extract (seeds and strands removed) and cook the vegetable with some salt.
  • Add the cooked tuvar dal and let everything cook together for 5 minutes.
  • Add the freshly roasted and ground spices now. Let boil together.


  •  Add the cooked Channa/ Chick peas / கொண்ட கடலை to the gravy that's getting cooked.


  • Add hing (பெà®°ுà®®் காயம் ) and curry leaves as well.
  • Check for salt levels.


Pitlai should generally be thicker than Sambar. Add some rice flour (not too much, as it would spoil the taste) and that helps to thicken the gravy, if required.

Garnish with fresh coriander leaves, finely chopped.

Pitlai is ready!


Ammamma (mom's mom) adds roasted coconut shavings to the pitlai finally. I love that taste :) 

Being a South-Indian specialty, Pitlai is enjoyed with steaming hot white rice! Some Mor Kuzhambu aka Pulisseri for the rice would make this a complete meal and this is such a classic combination !!!


Sunday, January 1, 2012

Blueberry Streusel Cake - Happy New Year!!!

I'm really fond of fruits in my cake and the berries, full of anti-oxidants, are definitely special! As a child, I haven't seen Blueberries or Blackberries and was fascinated to see some fresh produce here in Singapore! We do get Strawberries in India from places like Reliance Fresh or Nilgiris Supermarket and whenever appa brings home these cute fruits, amma makes fresh smoothies that taste so heavenly!

I am immensely delighted that this is my 100th post (Yeh!!!) and today is the 1st day of 2012 :) This is Celebration time! I decided to splurge a bit today and baked this one, without substituting butter with anything else! I did feel a bit guilty on creating some exceptions, but I guess we really enjoyed every piece of the cake :)

Blueberry Cake with Streusel Crumb Topping

The basic cake recipe is adapted from Joy of Baking, but the streusel topping is my own combination, with some oats and walnuts added for the crunch!

Blueberry Streusel Cake

What I Used for the Cake Batter -


Dry Ingredients -


All purpose flour - 1/2 cup
Whole wheat flour - 1/2 cup
Salt - 1/8th of a teaspoon
Baking powder - 1 tsp

Wet Ingredients -


Butter (unsalted) - 1/4 cup 
White Sugar - 1/2 cup
Flaxmeal - 1 tbsp soaked  3 tbsp of warm water for 5 minutes (or 1 egg)
Milk - 1/3 cup
Vanilla essence - 1/2 tsp
Blueberries - 350 grams

Blueberries - out of the freezer!

For the Streusel Topping -


All-purpose flour - 1/2 cup
Brown sugar - 1/2 cup
Cinnamon powder - 1 tsp
Walnuts (coarsely chopped) - about 10
Oats (Quick Cooking) - 1/4 cup
Butter - 3 tbsp


Steps -


To Make Streusel Topping -


Mix the flour, oats, cinnamon and sugar together. Cut in the butter with a fork and blend well until it forms coarse crumbs. Add chopped walnuts. This is the streusel topping. Keep it aside.

To Prepare the Cake Batter -


  • Sift the dry ingredients and mix them together.
  • Beat the butter until smooth and cream sugar along with it.
  • Whisk flaxmeal with warm water until it becomes sticky. Then, add it to the creamed butter-sugar mixture. Please look up this recipe for pictures of freshly ground flaxseeds and how it looks when whisked with warm water.
  • Add vanilla and beat until well-incorporated.

  • Now, add the flour mixture (dry) to the wet and add milk gradually and mix until just combined.
  • Take out your cake pan, grease with butter (or use a baking sheet as a liner) and pour this prepared batter on top of it.
  • Arrange blueberries on top of this batter.


  • Sprinkle the prepared streusel topping on top. Press slightly with a spatula.


Bake for 40 to 50 minutes until a toothpick inserted into the center of the cake, comes out clean, without anything sticking to it. Remove from the oven and let cool on the wire rack.


Blueberry Cake with Streusel Crumb Topping


The streusel crumb topping is the BEST part of this cake! It is ABSOLUTELY RICH with butter and sugar and the addition of oats and walnuts give it the much needed crunch :) I say, its so much better than cakes loaded with cream on top! Do try this and your taste buds will be soo pleased that you'll want to make it over and over again! :-)

Serve fresh out of the oven when it's still warm. Refrigerate the cake (if anything remains!) and it will stay good for a week.


Wishing everyone a fantastic new year filled with good health, joy and prosperity!!! :) 


LinkWithin

Related Posts Plugin for WordPress, Blogger...