Showing posts with label easy. Show all posts

Saturday, October 18, 2014

Badam Pak / Badam Mysore Pak / Almond Fudge - Easy Diwali Sweet

My husband loves Mysore pak and we always get a kilo from Krishna Sweets during our trip to Chennai. However, I always keep thinking that there's nothing healthy in it but just loads of ghee and sugar and Besan (kadala maavu/ gram flour) which doesn't help much. Last week, when talking to my mami about Diwali preparations, she mentioned that ammamma used to make badam pak often and that everyone loves it. Immediately, I asked her if she has learnt the recipe and jotted it down and planned to try it this Diwali.


Badam Pak / Almond fudge


The ratio is the same as the traditional mysore pak, just that we omit besan (gram flour) completely and use badam (almonds) instead. 


What You Need - 


1 cup badam (almonds)
1 cup water
2 cups sugar
3 cups ghee

Method -

=> I used 1/2 cup badam, 1 cup sugar and 1.5 cups ghee and got around 15 pieces, as you see in the picture.  For your reference, the standard is 1 cup = 240 ml.

  •  Powder almonds (badam) in your mixie. You might have to do it in batches as we need them to be finely powdered. There's no need to soak badam or peel the skin.
  • Prepare a greased tray and keep it ready. I used my oven's tray and placed a baking sheet on it. 
  • Mix all the ingredients in a wide pan and make sure there are no lumps. I used a whisk to do the job. 
  • Put the pan on the gas stove (medium flame) and keep stirring in one direction. This is the painful part as you need to keep stirring continuously for about 12-15 minutes. 
  • After about 8 minutes, you would realize that the mixture is getting thickened. Continue stirring.


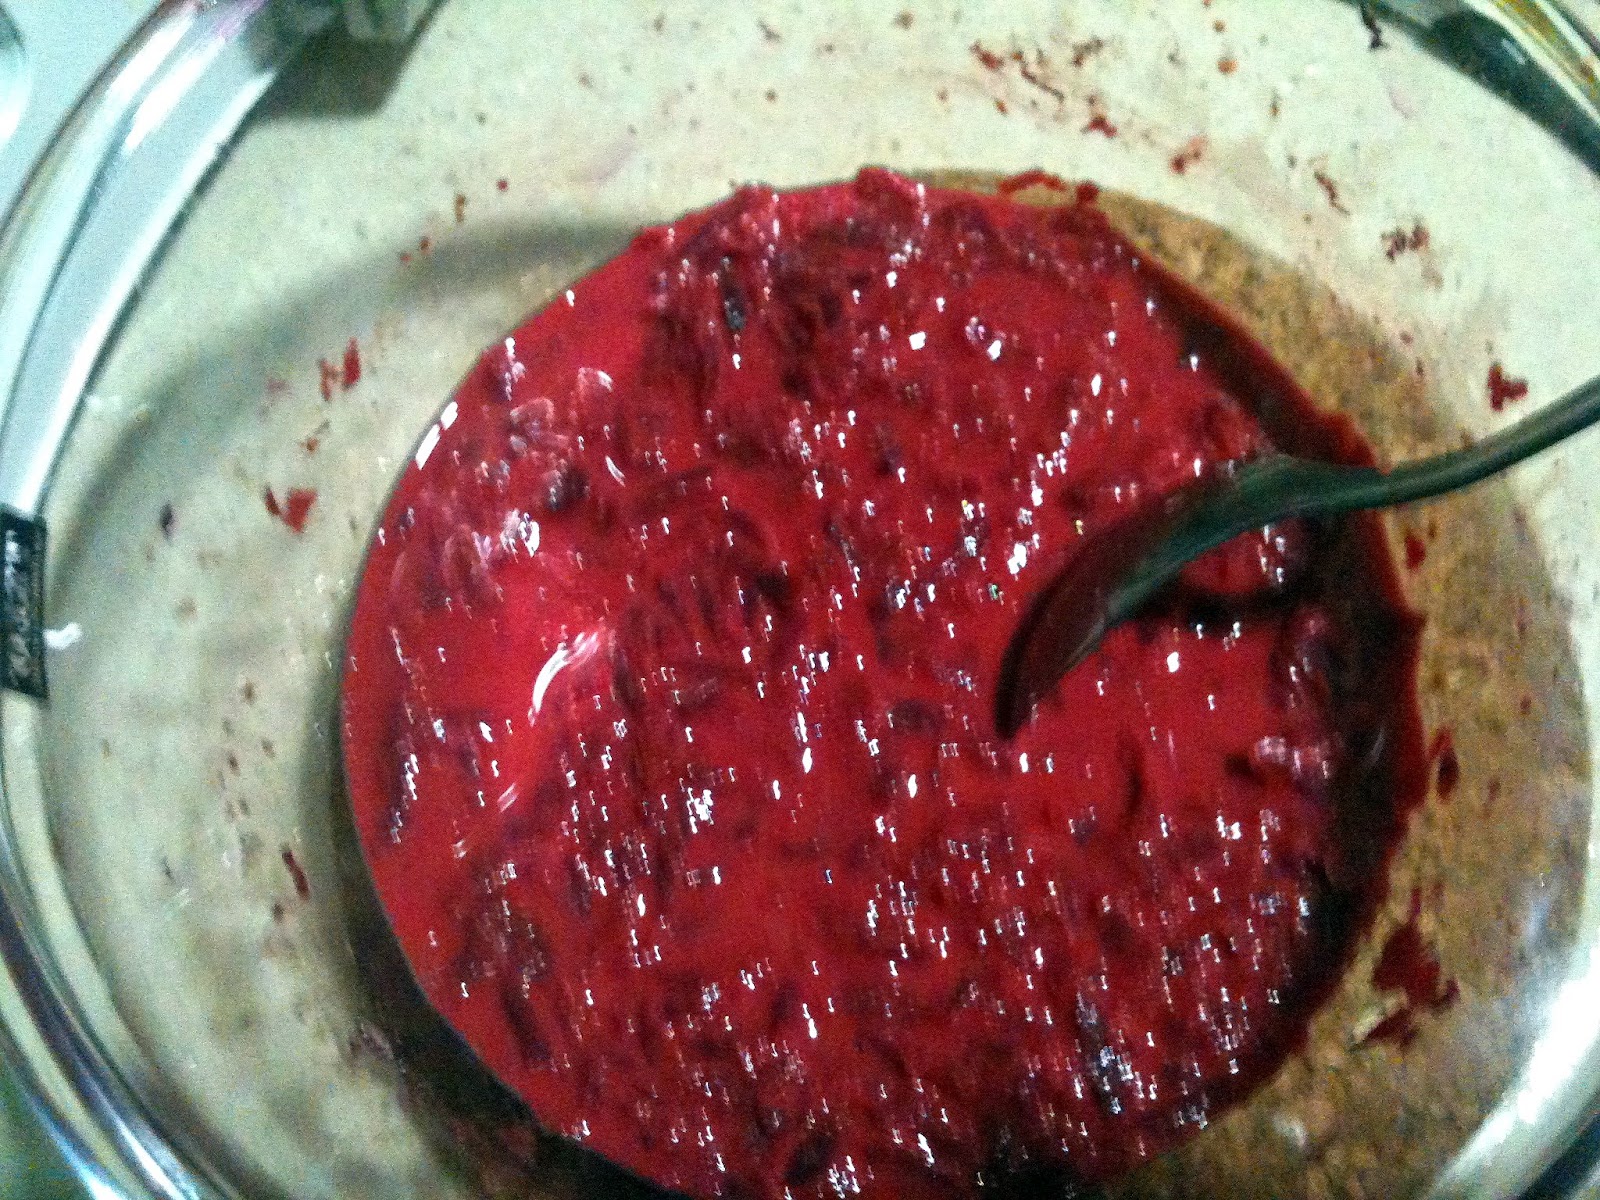
  • Around 13th minute, ghee would start leaving the sides of the pan and the mixture would have thickened even further.
  • Now, you can pour the mixture on the tray. Don't level the surface, the best (ideal) result would be porous badam pak. If you had poured it on the plate earlier (before it's done) then the badam pak would be flat (not porous) yet soft.


  • Wait for another 15 minutes for it to cool down and then cut into squares. 

  • Store in an airtight container. This stays good at room temperature for 7-10 days. 
  • Enjoy the rich badam sweet!! 

Badam Mysore Pak


Notes: 

  • There was a lot of ghee  (about 8-10 spoons) that separated and I managed to collect them in a bottle, one spoon at a time, from the tray. The rest of the ghee that was on the tray, was used to roll out doodh pedas that I had made. 
  • Also, I used the kitchen tissues (paper) to wipe/drain excess ghee from the pieces.
  •  Timings would vary if you double or triple the quantities I used. You would have to wait and watch for the signs like, mixture thickening up and ghee separating. 


Sunday, July 7, 2013

Basil Pesto - Simply Italian - Made in 5 minutes

I instantly fell in love with Pesto when I tasted it for the first time - in Rome! Yes, the most authentic Pesto one could ever get! Earlier, I knew that pesto is analogous to Indian "thogayal" and that, it is very simple to make. But when I tried it myself, I was really amazed at the wonderful flavor that comes when we put together fresh basil leaves, olive oil, pine nuts and some parmesan!  It is one easy recipe that even a beginner could get right easily! :-)

Ingredients -

 1/2 cup basil leaves
 3 tbsp pine nuts
 3 tbsp pure olive oil
 1 garlic clove
 1 tsp lemon juice (freshly squeezed)
 3 tbsp Parmesan cheese
 a pinch each of sugar, salt and pepper

Method -

Blend basil leaves, pinenuts and garlic in a food processor.

Add olive oil, lemon juice, salt, sugar and pepper and blend again. You can freeze this paste at this stage if you're not planning to eat pesto today.

When required, bring close to room temperature and blend with parmesan cheese! Voila! All you now need is to cook some pasta. Saute the prepared pesto with a little bit (~ 2 tsp) of olive oil and let pesto coat the pasta well! Bon Appetit! :-)


Elbow pasta with Pesto


Reference : http://www.pickyourown.org/pesto.php

Saturday, July 6, 2013

Mango Shrikhand - Creamy Sweet Mango Yogurt with crunchy nuts :-)

The Mango season is about to be over and now I rush to the Indian store to grab a few and make some Mango specialties :-)  I have been thinking of making Shrikhand at home ever since I shortlisted it as a fat-free recipe (basically if u make yogurt with fat-free milk, that is :P)  Finally, got around to make this delicacy for my hubby who said it's equivalent to Meiji/Marigold Mango yogurt :-) That's a compliment, I suppose! :-)

Mango Shrikhand

Yield - 4 ramekins (as in the picture)

What You Need-


Ripe Mango - 1 (medium size)
Fresh Yogurt/ Curd - 1 litre
Sugar - 3 to 4 tbsp (adjust according to the sweetness you prefer)
Cardamom powder - 1/4 tsp
Nuts of your choice - I used Almonds and Cashews

Mango Shrikhand

Procedure -


1. Make Greek Yogurt following the procedure here. This takes 6-8 hours in the fridge. But you don't have to do much actively!
2. Blend mango in a mixer and get the puree.
3. Powder sugar.
4. Mix in powdered sugar, cardamom powder and the mango puree into Greek Yogurt and whisk them all together until you get a smooth texture. This is reallly important.
5. Chop some nuts and mix them too. Almonds would need to be blanched. Pistachios would be awesome, but I didn't have any yesterday. Reserve some nuts to garnish on top later.
6. Pour into ramekins or ice-cream cups and decorate with nuts. Refrigerate for another 3 hours to let it set well.
7. Serve chilled.

Simply awesome! Don't go by my words, try for yourself :-)

Umm...Slurp!


Monday, July 1, 2013

Aval Kesari / Poha Halwa

Hello friends! I've been away from blogging after little K arrived and life has been really busy yet sweet :-) Nevertheless, with a little help around, I hope I can manage to keep my passion for cooking alive and continue to dish out new stuff that everyone enjoys!

Yesterday, I made a really quick Kesari with Aval (Rice flakes) and it turned out awesome!! Rawa Kesari aka Sooji Halwa is quite a popular sweet and this variation uses Aval in place of Rawa/ Sooji and reduces the cooking time drastically as well as makes the sweet practically foolproof. With the traditional Kesari, one has to take care to ensure there are no lumps while the rawa gets cooked and once there ARE lumps(which is usually the case), it's a tiring job to mash them and create a uniform texture.


Aval Kesari / Poha Halwa

Yield - 2 to 3 persons

Time - 15 minutes end-to-end


Ingredient List -


Aval / Poha/ Rice flakes- 1 and 1/4 cups
Sugar - 3/4 cup
Boiling Water - Start with 1/2 cup and add as you go
Ghee - 3 to 4 tbsp
Cashewnuts - 10 nos.
Food color (orange) - a pinch or two
Cardamom powder - 1/4 tsp

Recipe -


  • Roast the cashewnuts with a tbsp of hot ghee on a pan. Set the roasted nuts aside but let the remaining ghee stay on the pan.
  • Transfer the measured Aval into the pan with ghee (add some ghee if there's nil left after roasting cashews) and fry them for a short while.
  • When all the aval flakes are covered with ghee (and not dry), pour boiling water (just microwave water for a minute) into the pan.
  • The Rice flakes/ Aval starts cooking. When all the water is absorbed and the aval doesn't seem fully cooked yet, add some more water (boiling). Reduce flame to low.
  • When its 3/4th done, add the measured sugar. As the sugar melts, there is more liquid in the pan. Add a pinch of food color and cardamom powder. 
  • Let the Kesari get cooked well and come together. You may add the remaining ghee at this stage if the sweet starts sticking to the bottom of the pan. I used a non-stick pan and I didn't have to add anymore ghee.
  • Finally, mix in the ghee-roasted cashewnuts! 

Enjoy :-) If you're a fan of Aval, do check out Aval Payasam / Kheer made with Poha(Rice flakes).


Friday, October 19, 2012

Semiya Payasam - Vermicelli Kheer - Festive Recipes

Semiya Payasam is super-quick to make and hence, this post will be a short one as well :-) My sis loves Semiya Payasam always and I totally licked the cup clean this time when amma made it during Navartri. She never adds Condensed milk to any Kheer she makes, as it's high in calories and definitely unhealthy. Yet her payasam was yum-yum-yummy and I asked her if she did the Pressure-cooker method that she taught me to get the perfect Pal Payasam easily everytime.  No, no pressure-cooker needed for Semiya Payasam, all you need is a pot to boil milk and water. Here's how :-

Semiya Payasam / Vermicelli Kheer


What Amma Uses -

  • Semiya / Vermicelli - 1 cup
  • Milk - 1 and 1/2 cups
  • Water - 2 and 1/2 cups
  • Cardamom powder - 1/2 tsp
  • Nutmeg powder (jadikkai) - 1/4 tsp
  • Sugar - 2/3 cup (Use 1/2 cup if you prefer slightly lesser sweetness)
  • About 12-15 Raisins roasted in 1/2 tsp Ghee

How She Makes the Yummy Kheer -

  1. Boil water in a pot and when ready, add the semiya/vermicelli to the boiling hot water and let cook. There will still be water remaining after vermicelli has cooked well. Don't fret.
  2. Boil about 2 cups of milk in a pot or milk cooker (follow your usual method;  in Singapore, I would just microwave milk for 3-4 minutes, thats it) and keep aside.
  3. Add sugar and cardamom + nutmeg powder to the cooked semiya/vermicelli. Stir gently to uniformly mix. Keep on sim/low flame for 5-7 minutes.
  4. Take cooked vermicelli off the stove and pour 1 cup milk first.  Add the roasted raisins. Voila! :-) Tasty Semiya Payasam is ready for neivedhyam! :-) Add another 1/2 cup milk later, just before serving.

Notes :


  • Never ever boil milk and sugar together, it would get spoilt easily.
  • This payasam tastes awesome both warm and cold. 
  • Ratio of vermicelli to water is 1: 2.5 and you can start with equal quantity of milk (as that of vermicelli) to begin with and then add some more milk as required.
  • Add some more milk (boiled and cooled) if all the milk gets absorbed over time.

Semiya Payasam/ Vermicelli Kheer


Here are other yummy Kheer / Payasam Recipes for Navaratri and other festivals -

Click on the pictures to read the entire recipe.

Palada/ Rice Ada Payasam - Famous in Kerala 


Palada Payasam / Rice Ada Kheer


Aval Payasam - Kheer with Poha/ Flattened Rice 


Aval Payasam / Kheer with Poha/ Flattened Rice


Carrot Kheer - Yummy Dessert drink full of goodness of carrots!


Carrot Kheer/ Payasam


Bring on the festive spirit! :-)


Tuesday, October 16, 2012

(Red) Banana Halwa - Chev vazhai pazha Halwa

Step out of Palakkad (Palghat) station and all you can see is shop after shop, tempting you with different varieties of Halwas (or Haluwa! as they call it) and Chips. Vibrant colors and the rich aroma of ghee - ummm :-)  They make a good combination too - halwa for sweet and chips for something savory.  We always bring back freshly-made Halwa and Chips (especially love the sweet banana chips ;-)) whenever we visit Palakkad.

Bananas and Halwa go hand-in-hand  - both are gooey substances and since bananas are so sweet themselves, we can cut down on the added sugar and still have a great-tasting sweet! In addition, this doesn't take more than 25 minutes (end-to-end) on stove-top and it just tasted awesome even with the minimum amount of ghee I used :-)  I'm very happy with the results and so were my guests!


I didn't plan to use Chev vazhais (Chivappu means Red in Tamil, Chev is derived from it) specifically but I was ecstatic when I spotted them in Bukit Gombak market one day! You can use any bananas to make this Halwa!


Ingredients -


Ripe bananas - 5
Sugar - 80 ml
Ghee - 3 tsp
Cardamom powder - 1 tsp
Cashews - about 12


Method -


  • Peel and mash bananas with a potato masher.

  • In a kadai, heat 1 tsp of ghee and roast cashewnuts. Keep aside. 

  • Add another tsp of ghee and add the banana puree.

  • Stir well for about 12-15 minutes. Take care to ensure that it doesn't stick to the bottom of your kadai/pan.
  • Add 1 tsp of ghee and add all the sugar and mix well with the banana mixture in the kadai.
  • Wait until the banana puree changes to a brown color (பழுப்பு à®¨ிறம்). By this time, the whole mixture comes together so well into a mass (see pic below). The glossy effect is due to the caramelization of sugar (we haven't added much ghee, remember?)

  • Reduce the flame and sprinkle cardamom powder.
  • Add ghee-roasted cashewnuts and mix for a minute.
  • Spread on a greased plate and make squares on cooling. 

Yield - I got about six, rather big 2 inch-by-2 inch halwa pieces.


Sunday, October 14, 2012

Badam Ladoo/ Laddu - No sugar or ghee added! - 5 Minute Recipe!

You can make Badam Laddu without sugar (in fact no extra sweetener added) or ghee! Did you know that? Well, I didn't know it too, until a good friend of mine, Karpagam aunty told me the secret! She let me taste the laddu first and then told me that it's a single ingredient sweet!!! I couldn't believe it! Absolutely yummy and so easy to make!

So full of nutrition (good cholesterol), it is great for both kids and adults alike to eat a laddu a day! :-) This is an easy, healthy and a really quick recipe :-) What are you waiting for!!


What You Need -


A cup of badam or raw almonds

That's it!!! :-) No, I'm not joking :-)


How To -


  • Spread the raw almonds on a microwaveable plate and microwave for 2-3 minutes. The heat helps to release the natural oils in them. Alternatively you can toast them on a tawa too, but be careful not to burn them.
  • Let cool.
  • Take your mixer (the one in which you powder dry ingredients) or coffee grinder and powder the almonds. don't bother if it's a bit coarse! That will add some crunch too!
  • Transfer to a wide plate and make them into small round balls (typical size of laddu you would make). You don't need to add ghee for binding, they come together easily with the inherent oil in them. Be patient, you have to hold each laddu tightly for a good 30 seconds to 1 minute to help them keep the shape.

Enjoy!!!


Notes -


  • You may add a teaspoon of warm milk to bind, but that would lessen the shelf life a lot - you can't keep for more than 2 days! 
  •  With 150 to 180 grams of almonds, I got about 10 laddus.  I had opened the pack earlier and used for making something else (or just gobbled up a few plain!) so I had less than 200 grams for preparing these laddus.
  • If you still don't trust my words, make just 1 laddu and taste it and check for yourself if the sweetness level is sufficient. If really required, powder 2 tbsp of sugar and heat & add 2 tsp of ghee to suit your tastebuds.

What healthy recipe did you recently experiment on and were satisfied with? Please share with me! :-)


Thursday, October 11, 2012

Peda using Gulab Jamun Mix - Super Quick Sweet in 3 minutes!

So, I had a packet of MTR Gulab Jamun Mix sitting in my pantry and about to expire in a month's time. I definitely did not want to make them into jamuns...deep frying plus lots of sugar in the syrup...strictly prohibited, given the rate at which I am gaining weight nowadays. I looked at what went into the Jamun Mix and had to think hard looking at the ingredients' list. Obviously, sugar was out of the equation, so I thought of jaggery spontaneously.  I decided to make jaggery syrup and mix in this powder but that turned out to be not-so-good. Figured out it needed some diary products (too much of wheat cream doesn't taste good), so I made jaggery syrup with milk (and not water) and also added some milk powder along with the Gulab Jamun mix. Parfait!


What I Used -


100 g of MTR Gulab Jamun Mix
50 g of Nestle Instant Milk powder
3 tbsp of jaggery
2 tbsp of milk
2 pinches of cardamom powder
2-3 pistachios - to garnish
a few drops of oil - to bring everything together and make into pedas.

How I Made These Cute Pedas -

  1. Added jaggery and milk to a microwave-safe bowl and microwaved for 2 minutes.
  2. Once syrupy, added the Gulab Jamun mix powder and the Milk powder, along with cardamom powder.
  3. Used my hand (clean!) to bring everything together. Had to sprinkle a teaspoon or two of milk powder additionally since it was a bit too sticky.
  4. Finally, brought the whole mass into a rather tough dough after greasing my palms with oil.
  5. Divided the dough into 6, shaped them into balls first and then flattened into pedas.
  6. Decorated by pressing the center a bit and filling with crushed pistachios!
  7. Keep them refrigerated and Microwave each peda for 30-40 seconds just before serving.
Voila!


When I showed this to my dad, he asked me if I bought them from Sri Krishna Sweets! Isn't that enough? :-)

Make these pedas and show off to your friends and family and let them marvel at your culinary skills and creativity! Enjoy :-)


Notes:


  • Shred and Use Paneer in place of milk powder for enhanced taste
  • Replace jaggery with sugar (brown or white) for a different flavor.
  • Since we add fresh milk to this, finish consuming the pedas within a day or two! (As if this has been a problem anytime! :D)
  • Microwave times vary with the power of your microwave, so adjust accordingly. Mine is a 1000 W oven. 
  • I got 6 pedas (as in the picture) with the above quantities. 


Thursday, March 15, 2012

Beetroot Halwa Using Microwave - Only 15 minutes!

Beetroot Halwa is the tastier cousin of Carrot Halwa /Gajar ka halwa. It is obvious because beets are sweeter than carrots and that means, you add less sugar! Isn't that healthier?

I made a quick dessert in about 15 minutes and the best part is that I didn't really have to sit (or stand) and keep stirring it. That's the microwave magic! Most part of it gets done when you're busy doing something else!

Beetroot Halwa!

Take the following -

  • Beetroot - 1 (medium size)
  • Milk - 180 ml
  • Condensed milk - a little more than 1/3 can (A regular can is about 400 ml, so use 150 ml) => Low-fat is good too!
  • Ghee - 2 tsp
  • Cashews - 8 nos.
  • Sugar - 6 tsp (Reduce 1 or 2 tsp if you desire lesser sweetness)

 5 Quick steps -


1.  Peel and grate the beetroot into a big microwaveble bowl.
2.  Add milk and MW on High for 5 minutes. Let sit for a minute.

3.  Stir, then add sugar and microwave for 3 minutes. Let sit for a minute.

4.  Stir,  add condensed milk and MW on High again for 4 minutes.
     The mixture should now be cooked very well yet it will be a little runny. 

5. Take a kadai, heat ghee and roast cashews. Then add the cooked beet mixture and stir for 3-4 minutes on medium heat. Switch off heat and let sit for 2 minutes.  It's thickened and pasty now, just like halwa should be!

C'mon lick it off, straight away! :-) This pic explains how good the halwa tasted!

Beetroot Halwa - Quick n Easy!

These quantities serve 2 to 3 people. Store in the fridge for a day or two (if there is any!).


Saturday, March 10, 2012

Puli Inji - Kerala Style

Puli means Tamarind, Inji for Ginger. Puli Inji is a thickish sauce with these two as the main ingredients.  It is served as part of Onam Sadya. Quick n easy to make, it's tangy, slightly sweet and is loved by all!


Puli Inji


What You Need -


Tamarind - a medium sized lemon (Soak in 2 cups water and extract pulp, discard seeds)
Jaggery (grated or coarsely powdered) - 2 tbsp
Ginger - 2 inch piece
Green chillies- 2 numbers
Red chilli powder - 1/2 tsp
Turmeric powder - 1/2 tsp
Salt - 1 tsp (adjust to taste)


To Temper -


Coconut Oil - 1 1/2 tsp
Mustard /kadugu - 1/2 tsp
Urad dal - 3/4 tsp
Curry leaves - a few


Grated coconut - 1/4 cup - to be fried till golden brown (add finally)


Method -


  • This dish is done in a single pan. Do the tempering first after heating some coconut oil. Fry till urad dal turns slightly reddish and a nice aroma evolves. Finally add grated coconut and fry until it turns golden colored.
  • Soak tamarind in 2 cups of warm water for about 10 minutes and extract the juice. Throw away the seeds and strands. 
  • First, add finely minced ginger to the tempering in the pan and then follow with green chillies (Pardon me, I used red chilli padi as I ran out of green chillies that day). 
  • Add the extracted pulp of tamarind and let boil together.
  • Add salt, chilli powder and turmeric (haldi).
  • Finally, add some jaggery to balance out the flavors. The traditional recipe calls for jaggery.
  • Let everything boil together and thicken like sauce.

This will be tart yet sweet!
Makes a great side-dish for idlis, dosas and many more! Puli Inji can also be mixed with rice and enjoyed.

This recipe makes 1 and 1/2 cups of Puli Inji. Store in a dry container in the fridge and this stays good for several days. 
 
Check out the Kanjeevaram Idlis that I made recently. My family enjoyed the combo of these idlis with Puli Inji. 

Sending this to "Only South Indian" at Foodelicious


LinkWithin

Related Posts Plugin for WordPress, Blogger...