Showing posts with label home-made. Show all posts

Wednesday, June 3, 2015

Pidi kozhukattai - Best South Indian tiffin ever!


I have a special love for steamed foods, especially the kozhukattai kinds. I was craving to eat some and made this quick pidi kozhukattai as it doesn't require any special ingredients. 

This was our dinner tonight. It took me 20 minutes end-to-end to prepare this. Awesome, isn't it? 


Pidi kozhukattai with Onion thokku and Sambar

Ingredients:


Rice - 1 cup
Coconut - 1/2 cup

Tempering :


Oil - 2 tsp
Mustard -1 tsp
Channa dal - 1 tbsp
Curry leaves - 1 sprig
Green chillies-  3 , finely chopped
Red chilly -1
Asafoetida - 2 dashes
Salt - to taste (~1 tsp)

Method:


Wash and rinse rice as usual. Then take a pan, fry the rice as such (dry).  Stop when it starts becoming slightly reddish. Let cool and grind coarsely to a powder. This is typically called "rice rava".

Take a kadai, heat oil and do the tempering as given above.
Then add water and let boil. Rice rava to water ratio is 1:2.5
Add salt and coconut to the water.
After a minute or two, slowly add the rice rava and keep mixing. Ensure there are no lumps. Keep stirring.  In 2-3 minutes, all the water would have been absorbed. Test if the rice is cooked, if not, do add another 1/4 cup to 1/2 cup water and let it cook well.

Now transfer to a plate and allow it to cool , so you can handle it with your palms to make kozhukattai.

Steam in an idly cooker and switch off flame in 10 minutes exactly. Kozhukkattais are done :-)

Pidi Kozhukattai - South Indian tiffin


Enjoy with Onion Chutney and Sambar :- )

Tuesday, May 26, 2015

Low fat Fruit and Nut Cake ~ Christmas Cake - Butter-free, Eggless cake :-)

Nowadays, I am inclined towards fat-free baking. True, we cannot avoid sugar in cakes, but we can minimize them by adding natural sources of sweetness. What do we do for butter? Substitute with natural sources of fat, that are good for your heart.


Guilt-free Fruit & Nut Cake 


Here's my Low fat Fruit & Nut cake that absolutely delicious and nobody can tell its butter -free or has no plain flour.


I've adapted the recipe from maria's menu but made it healthier by using Avocados and 100% whole wheat flour in place of Maida / All purpose flour/Plain flour. Read on ...

Ingredients:


2 Avocados - ripe (dark green in color)
Whole wheat flour - 1.5 cups
Brown sugar - 1 cup
Dry fruits (like raisins, tutty fruity, apricots, figs, ) +
Nuts (I used chopped almonds and cashews) = totally 1 and 1/2 to 1 and 3/4 cups roughly
Fruit juice (I have tried both Apple juice and Cranberry juice with good success)
Hot milk - 1/4 cup
Yogurt - 1/2 cup
Vanilla essence - 1 tsp

Baking powder - 0.5 tsp
Baking soda- 0.5 tsp
Cardamom powder - 1 tsp
Cinnamon powder - 0.5 tsp
A pinch of salt


Preparation -


  • Soak the dry fruits in the fruit juice overnight.
  • Drain the juice( save it so you can drink later!) and take  the soaked fruits and nuts in a bowl.
  • Coat it with 2 tbsp of flour roughly.


  • Start by pre-heating your oven to 180 degrees.
  • Sieve the flour along with a pinch of salt and baking soda, baking powder --> all dry ingredients. Add cardamom and cinnamon powder.
  • Beat the avocados (pitted) with sugar in a mixie.


  • Add hot milk to yogurt and mix this to the avocado-sugar mixture. Sure, the batter appears curdled at this stage but fret not!
  • Add vanilla essence as well.
  • Slowly mix the sieved flour mixture into the wet batter mixture until well-incorporated. You can add more chopped nuts at the stage. I like to add some walnuts :-)


Batter ready to go into the oven! 

  • Prepare a pan by lining with baking paper. Pour the batter and let the oven do the magic :-)

  • Do check after 20 minutes using a toothpick to see if the cake is done/ nearing doneness. If its too wet, let bake for another 5 to 10 minutes. Adjust timing by checking every 5 to 7 minutes. If the top is brown but the insides are uncooked/wet, then cover with an aluminum foil so that the top doesn't get burnt.


Just out of the oven! Heavenly goodness!

Enjoy your cake guilt-free :-)

This is suitable even for heart patients as there is no butter or oil added.

This year (26th Dec 2015), I made this lovely cake again for a potluck party and it was a big hit!!
Some photos -
Christmas Cake

Shopped for dry fruits and nuts and candied fruits :-)


Saturday, July 6, 2013

Mango Shrikhand - Creamy Sweet Mango Yogurt with crunchy nuts :-)

The Mango season is about to be over and now I rush to the Indian store to grab a few and make some Mango specialties :-)  I have been thinking of making Shrikhand at home ever since I shortlisted it as a fat-free recipe (basically if u make yogurt with fat-free milk, that is :P)  Finally, got around to make this delicacy for my hubby who said it's equivalent to Meiji/Marigold Mango yogurt :-) That's a compliment, I suppose! :-)

Mango Shrikhand

Yield - 4 ramekins (as in the picture)

What You Need-


Ripe Mango - 1 (medium size)
Fresh Yogurt/ Curd - 1 litre
Sugar - 3 to 4 tbsp (adjust according to the sweetness you prefer)
Cardamom powder - 1/4 tsp
Nuts of your choice - I used Almonds and Cashews

Mango Shrikhand

Procedure -


1. Make Greek Yogurt following the procedure here. This takes 6-8 hours in the fridge. But you don't have to do much actively!
2. Blend mango in a mixer and get the puree.
3. Powder sugar.
4. Mix in powdered sugar, cardamom powder and the mango puree into Greek Yogurt and whisk them all together until you get a smooth texture. This is reallly important.
5. Chop some nuts and mix them too. Almonds would need to be blanched. Pistachios would be awesome, but I didn't have any yesterday. Reserve some nuts to garnish on top later.
6. Pour into ramekins or ice-cream cups and decorate with nuts. Refrigerate for another 3 hours to let it set well.
7. Serve chilled.

Simply awesome! Don't go by my words, try for yourself :-)

Umm...Slurp!


Monday, July 1, 2013

Aval Kesari / Poha Halwa

Hello friends! I've been away from blogging after little K arrived and life has been really busy yet sweet :-) Nevertheless, with a little help around, I hope I can manage to keep my passion for cooking alive and continue to dish out new stuff that everyone enjoys!

Yesterday, I made a really quick Kesari with Aval (Rice flakes) and it turned out awesome!! Rawa Kesari aka Sooji Halwa is quite a popular sweet and this variation uses Aval in place of Rawa/ Sooji and reduces the cooking time drastically as well as makes the sweet practically foolproof. With the traditional Kesari, one has to take care to ensure there are no lumps while the rawa gets cooked and once there ARE lumps(which is usually the case), it's a tiring job to mash them and create a uniform texture.


Aval Kesari / Poha Halwa

Yield - 2 to 3 persons

Time - 15 minutes end-to-end


Ingredient List -


Aval / Poha/ Rice flakes- 1 and 1/4 cups
Sugar - 3/4 cup
Boiling Water - Start with 1/2 cup and add as you go
Ghee - 3 to 4 tbsp
Cashewnuts - 10 nos.
Food color (orange) - a pinch or two
Cardamom powder - 1/4 tsp

Recipe -


  • Roast the cashewnuts with a tbsp of hot ghee on a pan. Set the roasted nuts aside but let the remaining ghee stay on the pan.
  • Transfer the measured Aval into the pan with ghee (add some ghee if there's nil left after roasting cashews) and fry them for a short while.
  • When all the aval flakes are covered with ghee (and not dry), pour boiling water (just microwave water for a minute) into the pan.
  • The Rice flakes/ Aval starts cooking. When all the water is absorbed and the aval doesn't seem fully cooked yet, add some more water (boiling). Reduce flame to low.
  • When its 3/4th done, add the measured sugar. As the sugar melts, there is more liquid in the pan. Add a pinch of food color and cardamom powder. 
  • Let the Kesari get cooked well and come together. You may add the remaining ghee at this stage if the sweet starts sticking to the bottom of the pan. I used a non-stick pan and I didn't have to add anymore ghee.
  • Finally, mix in the ghee-roasted cashewnuts! 

Enjoy :-) If you're a fan of Aval, do check out Aval Payasam / Kheer made with Poha(Rice flakes).


Friday, October 19, 2012

Semiya Payasam - Vermicelli Kheer - Festive Recipes

Semiya Payasam is super-quick to make and hence, this post will be a short one as well :-) My sis loves Semiya Payasam always and I totally licked the cup clean this time when amma made it during Navartri. She never adds Condensed milk to any Kheer she makes, as it's high in calories and definitely unhealthy. Yet her payasam was yum-yum-yummy and I asked her if she did the Pressure-cooker method that she taught me to get the perfect Pal Payasam easily everytime.  No, no pressure-cooker needed for Semiya Payasam, all you need is a pot to boil milk and water. Here's how :-

Semiya Payasam / Vermicelli Kheer


What Amma Uses -

  • Semiya / Vermicelli - 1 cup
  • Milk - 1 and 1/2 cups
  • Water - 2 and 1/2 cups
  • Cardamom powder - 1/2 tsp
  • Nutmeg powder (jadikkai) - 1/4 tsp
  • Sugar - 2/3 cup (Use 1/2 cup if you prefer slightly lesser sweetness)
  • About 12-15 Raisins roasted in 1/2 tsp Ghee

How She Makes the Yummy Kheer -

  1. Boil water in a pot and when ready, add the semiya/vermicelli to the boiling hot water and let cook. There will still be water remaining after vermicelli has cooked well. Don't fret.
  2. Boil about 2 cups of milk in a pot or milk cooker (follow your usual method;  in Singapore, I would just microwave milk for 3-4 minutes, thats it) and keep aside.
  3. Add sugar and cardamom + nutmeg powder to the cooked semiya/vermicelli. Stir gently to uniformly mix. Keep on sim/low flame for 5-7 minutes.
  4. Take cooked vermicelli off the stove and pour 1 cup milk first.  Add the roasted raisins. Voila! :-) Tasty Semiya Payasam is ready for neivedhyam! :-) Add another 1/2 cup milk later, just before serving.

Notes :


  • Never ever boil milk and sugar together, it would get spoilt easily.
  • This payasam tastes awesome both warm and cold. 
  • Ratio of vermicelli to water is 1: 2.5 and you can start with equal quantity of milk (as that of vermicelli) to begin with and then add some more milk as required.
  • Add some more milk (boiled and cooled) if all the milk gets absorbed over time.

Semiya Payasam/ Vermicelli Kheer


Here are other yummy Kheer / Payasam Recipes for Navaratri and other festivals -

Click on the pictures to read the entire recipe.

Palada/ Rice Ada Payasam - Famous in Kerala 


Palada Payasam / Rice Ada Kheer


Aval Payasam - Kheer with Poha/ Flattened Rice 


Aval Payasam / Kheer with Poha/ Flattened Rice


Carrot Kheer - Yummy Dessert drink full of goodness of carrots!


Carrot Kheer/ Payasam


Bring on the festive spirit! :-)


Thursday, March 15, 2012

Beetroot Halwa Using Microwave - Only 15 minutes!

Beetroot Halwa is the tastier cousin of Carrot Halwa /Gajar ka halwa. It is obvious because beets are sweeter than carrots and that means, you add less sugar! Isn't that healthier?

I made a quick dessert in about 15 minutes and the best part is that I didn't really have to sit (or stand) and keep stirring it. That's the microwave magic! Most part of it gets done when you're busy doing something else!

Beetroot Halwa!

Take the following -

  • Beetroot - 1 (medium size)
  • Milk - 180 ml
  • Condensed milk - a little more than 1/3 can (A regular can is about 400 ml, so use 150 ml) => Low-fat is good too!
  • Ghee - 2 tsp
  • Cashews - 8 nos.
  • Sugar - 6 tsp (Reduce 1 or 2 tsp if you desire lesser sweetness)

 5 Quick steps -


1.  Peel and grate the beetroot into a big microwaveble bowl.
2.  Add milk and MW on High for 5 minutes. Let sit for a minute.

3.  Stir, then add sugar and microwave for 3 minutes. Let sit for a minute.

4.  Stir,  add condensed milk and MW on High again for 4 minutes.
     The mixture should now be cooked very well yet it will be a little runny. 

5. Take a kadai, heat ghee and roast cashews. Then add the cooked beet mixture and stir for 3-4 minutes on medium heat. Switch off heat and let sit for 2 minutes.  It's thickened and pasty now, just like halwa should be!

C'mon lick it off, straight away! :-) This pic explains how good the halwa tasted!

Beetroot Halwa - Quick n Easy!

These quantities serve 2 to 3 people. Store in the fridge for a day or two (if there is any!).


Saturday, March 10, 2012

Onion Sambar - Madras Style - with ghee-fried mini-onions ground with coconut

Onion Sambar and Potato Curry is the classic combination that any South-Indian (vegetarian) would love to eat on any given day! This is a very traditional recipe and I've tried my best to preserve its authenticity. Both my mom as well as mom-in-law make this wonderfully super-delicious! (Pardon my excessive use of adjectives, but I really wanted to emphasize that). Do try it once and you're sure to make it again and again! 

Vengaya Sambar - Onion Sambar


Yield - for 4 people (or 2 people * 2 meals)
Time - 45 minutes to an hour

Ingredients :

Toor dal - 2 handfuls (about 3/4 th of a cup)
Red Onion - 1 big (or 2 medium)
Mini onions/ Sambar onions - about 25

Set A - 

Bengal gram dal/Channa dal (கடலை பருப்பு ) - 1 1/2 tbsp
Dhania / Coriander seeds - 1 1/2 tbsp
Dry Red Chillies - 4 (remove stalks and break into 2)
Mini onions - about 6-8 ~ preferred (or) Half of a big onion
Grated Coconut (Fresh or frozen) - 1 handful 
Asafoetida / Hing (பெரும்காயம்) - 1/4 tsp
Oil - 1 tsp

Set B -

Tamarind - about the size of a lemon
Ghee / Clarified butter - 1 tsp
Black Mustard seeds - 1 tsp
Curry leaves - a few
Asafoetida - 1/4 tsp (Use the solid block for better taste, as shown here)
Turmeric / हल्दी/ மஞ்சள் பொடி - 1/2 tsp
Sambar powder - 3 tsp (Any brand will do, as long as you like it. I use Ambika's )
Salt - to taste
Coriander leaves/ Cilantro - to garnish
Jaggery - 1 tsp (optional)

Procedure :

Preparatory steps - 

  1. Pressure-cook toor dal (துவரம் பருப்பு) with 3 times water, for 3 to 4 whistles.
  2. Peel the big onion as well as the minions. 
            Tip ~ Soak the small onions in water for about 15 minutes and then start peeling them. They would  soften a bit and would yield easily.

You could do these the previous night, if you want to save time in the morning rush hour :) Please remember to refrigerate the cooked dal and the peeled onions. 

Making of the Sambar -


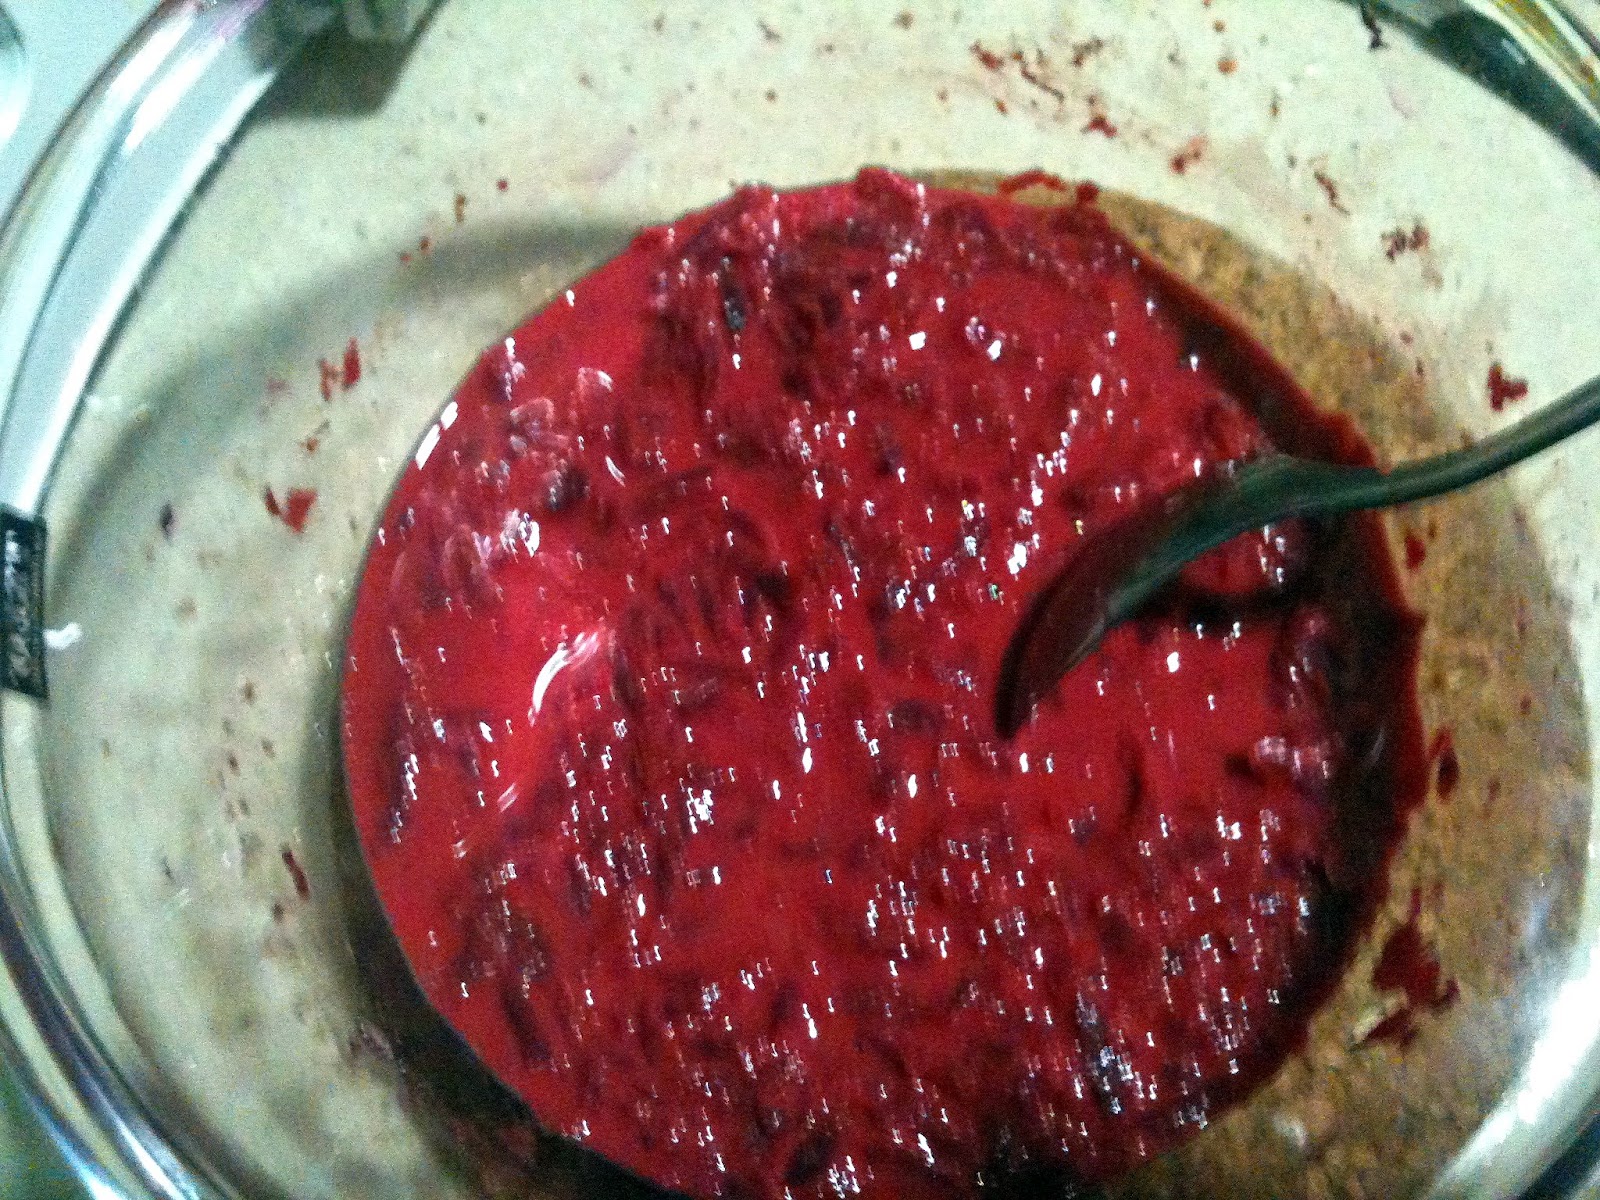
  • Soak tamarind in 200 ml of warm water (to save time) for about 10 minutes and extract tamarind juice. Discard the seeds and strands. 

  • In the mean time, take a tsp of oil in a kadai, keep it on medium-high heat and roast Set A ingredients. Once they turn slightly reddish, switch off the flame, transfer to a heat-tolerant bowl and allow to cool. Grind into a fine paste after about 20 minutes.
Paste for onion-sambar, roasted in a little oil

Paste after grinding


  • Take the same kadai, melt ghee (Clarified butter) and fry the mini onions as well as the medium-sized ones (cubed). You may sprinkle a little salt now. Enjoy the awesome aroma  :)

Onions fried in ghee


  • Take your sambar vessel (usually flat bottomed and made of stainless-steel), pour the tamarind juice and add the fried onions.

  • Add turmeric, asafoetida, salt and sambar powder. Let cook until the smell of tamarind disappears slowly. That's about 5-7 minutes.


  • Now, add the ground paste from Set A ingredients. Let boil for 5 minutes.


  • Add the water from the cooked toor dal first. Then, mash the dal and add to the sambar vessel. Mix well and allow it to boil for about 7-10 minutes.


  • Check for salt. At this stage, I would like to add a little jaggery. That really enhances the taste of the sambar.

  • Temper with mustard seeds and curry leaves. You could actually start with mustard and curry leaves in ghee before frying the onions :)

Onion Sambar -Madras Style

  • Garnish with coriander leaves.


Enjoy Sambar rice with Potato Curry or Chepankizhangu roast This is indeed, a combo made in heaven

Reposting this for "Only South Indian" event at Foodelicious


LinkWithin

Related Posts Plugin for WordPress, Blogger...